Create your first poll
Learn how to easily create a online poll, scheduling, prioritization or make group decisions with PollUnit. You can create PollUnits with or without an account. Your participants can also vote as a guest.
To begin with your first poll, click the »Create PollUnit« button. You will find this button on all sites in the upper right or in the menu when you are using a smartphone - also on this page.
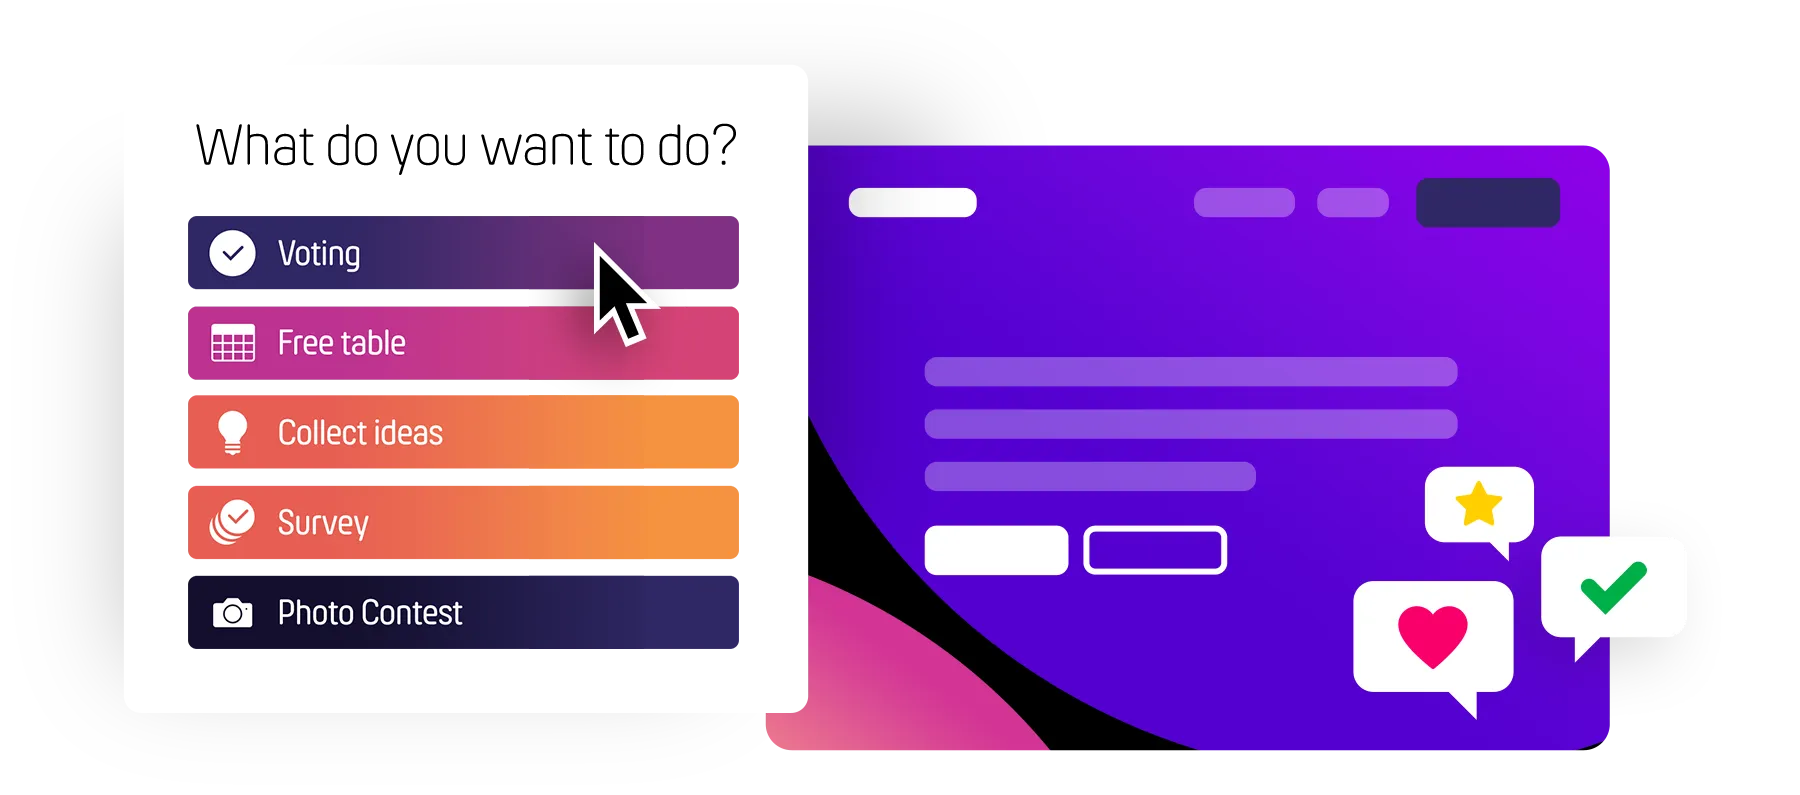
Then you can choose which PollUnit type you want to create. In this tutorial we create a voting.
PollUnit types
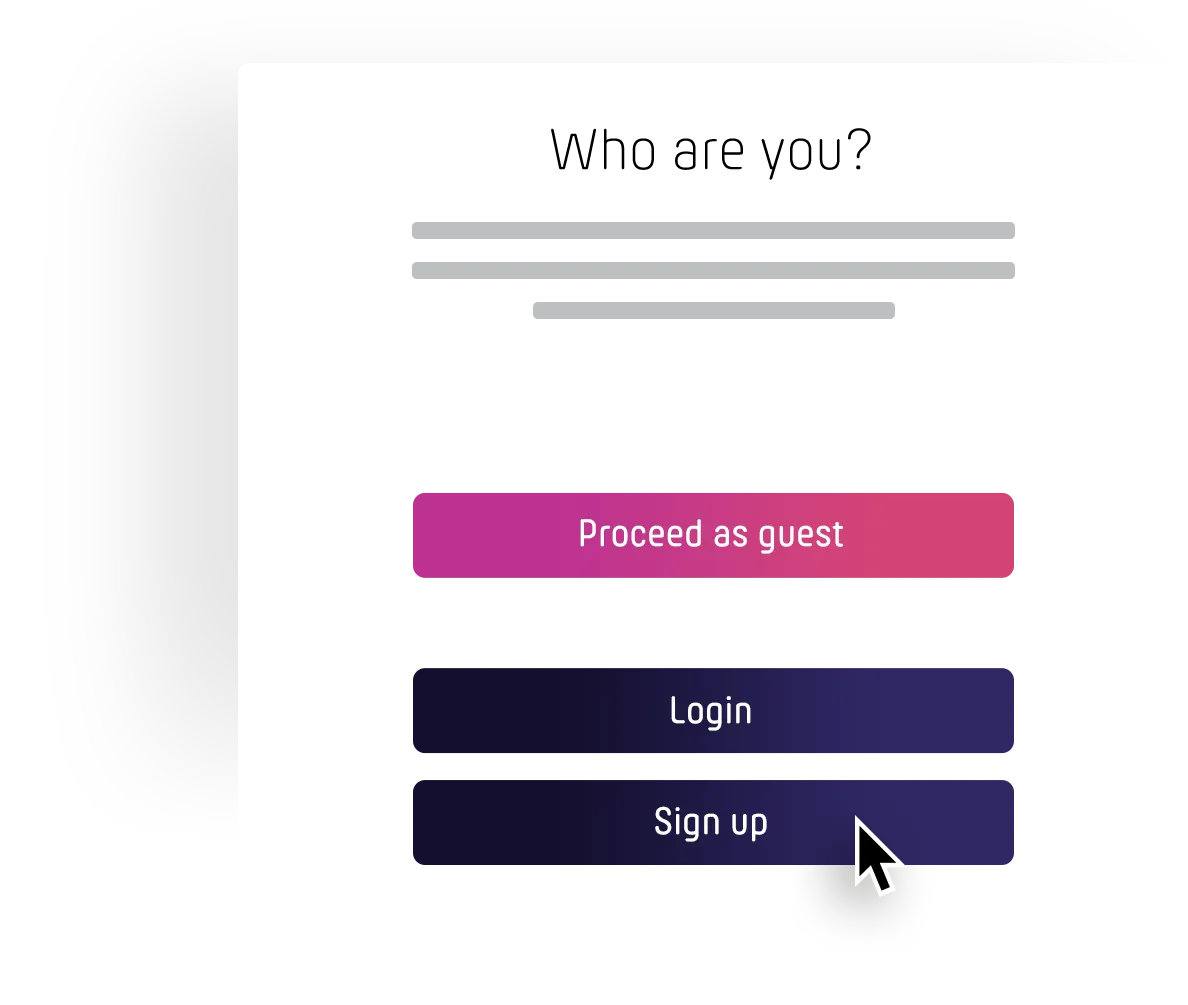
If you are not yet logged in, you will be asked if you want to create a PollUnit as guest or to login. As a guest we need your name.
Advantages of an account
As a participant with a free account, you will receive notifications about activities of your PollUnits, you can write comments and have the opportunity to change and delete your entries from other devices.
Create your voting
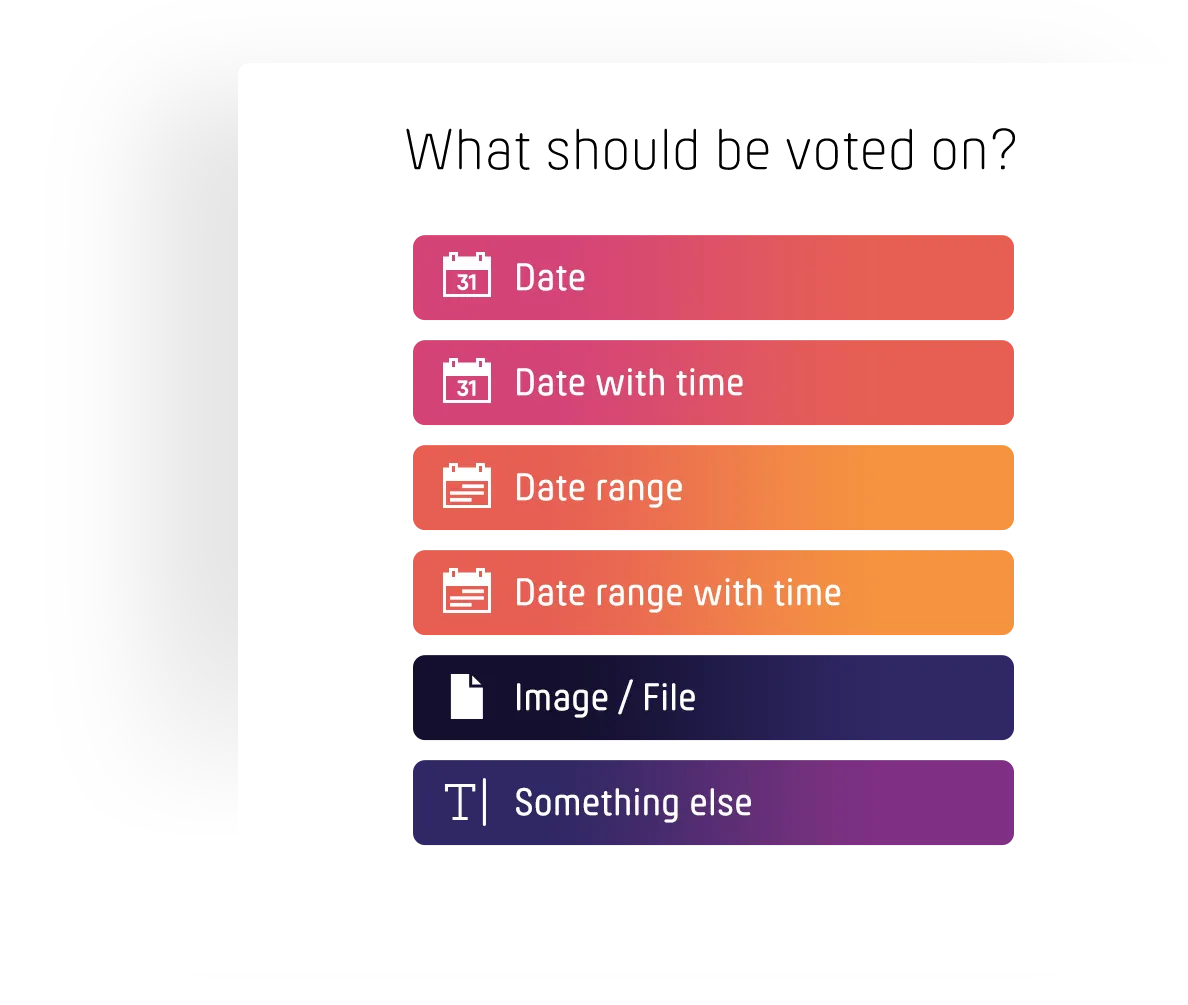
You have the choice between different PollUnit types. These determine which options you can assign later. Participants in the poll can choose these options after completing your PollUnit. In this tutorial we choose »Free text«. So you can enter any words or sentences as an option.
Option types
| Date | Decision about dates. |
| Date range | Decision about time ranges. |
| Image / File | Decision about images with gallery or other files. |
| Something else | Decision about free text. |
Basic settings

Now you are in step 1 (basic settings) of your PollUnit. Give your poll a title for example a question.
The PollUnit scheme shows you a preview of what your PollUnit will look like.
You can also define the purpose of your poll here. Choose »Find best« if you want to find the best option. Choose »Distribute« if you want to automatically distribute options or tasks to your participants. You can also enable add-ons such as subtitles and links. Additionally, you can change the voting type here. Options include Yes/No, star rating, dot voting, and more.
If you don't have an account, you can enter your email address here. We will send all messages related to your vote to this email address.
All fields and their meaning
| Title | The title or question of your PollUnit. |
| Description | Tell your participants more about your PollUnit. |
| Location | For example the location of your event. |
| PollUnit type | Describes the type of allowed options. You can choose between Date, Date and Time, Periods, Free Text and Image or File. |
| Vote type | Decide whether your participants can vote with yes / no or a rating from 1 to 5 (star rating). |
| Target | PollUnit can find the most frequently chosen option, or distribute the options optimally to your participants. |
| Creator name | The creators name (only necessary without account) |
| Creator email | The creators email (only necessary without account) |
Options
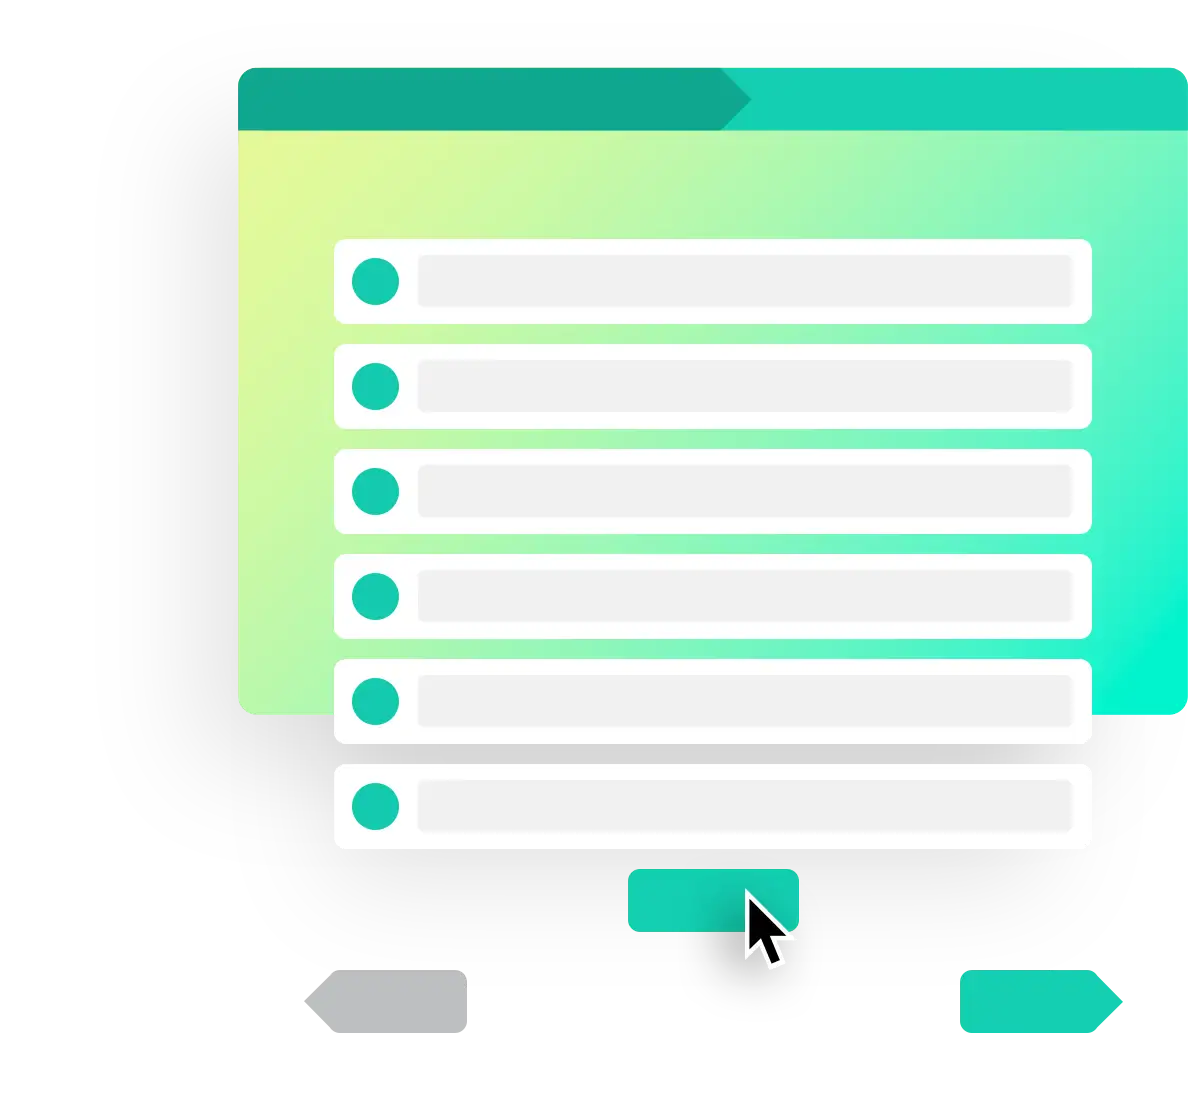
Fill your first option field. After entering, you can confirm by pressing »Enter« and create another option. You can delete options by clicking on the delete icon.
By clicking on 'Add option' you add another option.
Design

Now you can choose a suitable design for your poll. With a click on »Choose Theme« you activate the desired design and get a preview.
If you have a premium account, you can also create your own themes and upload your own background images.
Create your own themePublic themes
Advanced settings
In the advanced settings you can provide your PollUnit with diverse functions. A short summary of all functions can be found by clicking the button at the end of this section. In this tutorial we only use the following two free features:
Comments are automatically activated. If you do not want to allow comments, deactivate this checkbox. For this tutorial we set the comments function active. It allows all users who access your PollUnit to comment on your poll. The only prerequisite is that the user has at least a free PollUnit account.
Another function is »Allow new options«. Activate this function. Now all participants of your PollUnit can add their own options or suggestions. These are available to vote for all participants.
You get an overview of our account types and their possibilities to make your decisions easier and more efficient here:
Accounts and their permissionsShare poll
Now you just have to share your PollUnit with your friends/colleagues. You can copy the link of your PollUnit and send it to the participants. It is important to know that there are two URLs. An »admin link« that allows editing your PollUnit and a »participant link« without admin rights.

Participant link
If not configured otherwise, all people who know the participation link can vote. You can copy the participation link to the clipboard or share it via email, WhatsApp, Facebook etc. in the share dialog.
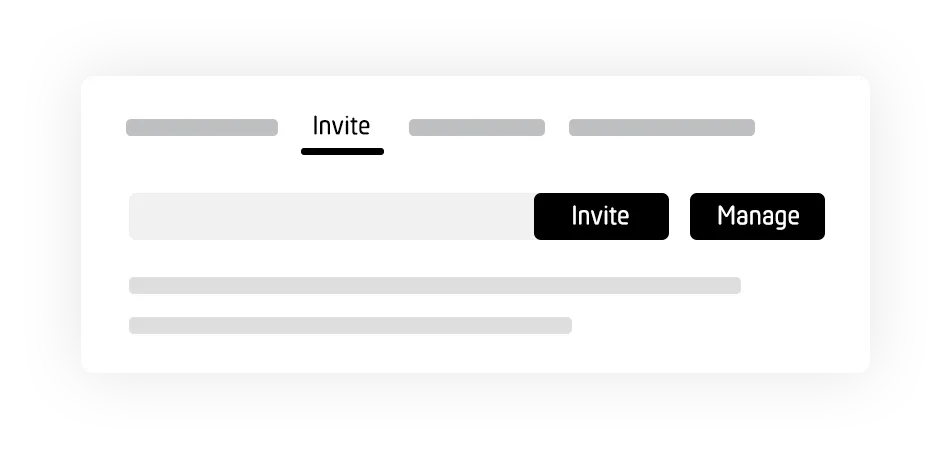
Invitations
After entering the email addresses of your participants, invitations to your PollUnit will be sent.
You can configure your PollUnit in such a way that only invited people get access and can vote. For this PollUnit generates a one-time link for each participant. You can also generate a list of one-time links and send them yourself.
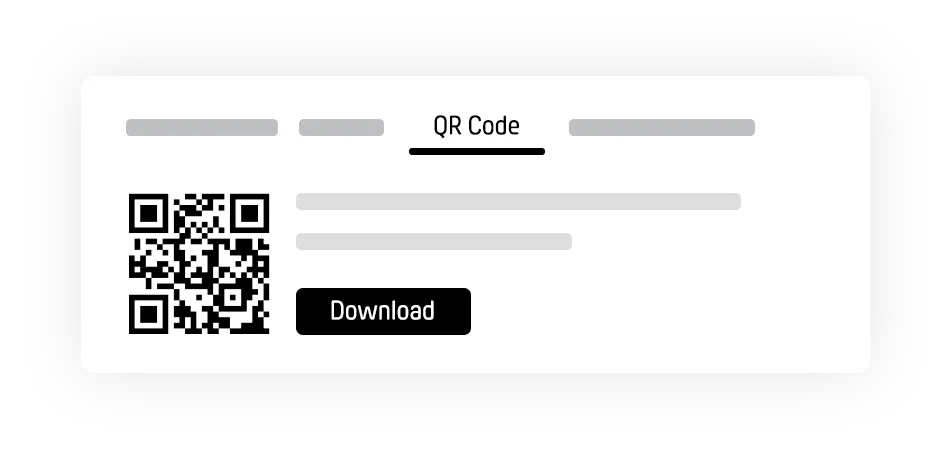
QR Code
PollUnit automatically creates a QR code for your poll. You can enlarge this code during your presentations and show it to your audience or download and print it. If a person scans the QR code, he/she will be redirected to the PollUnit.
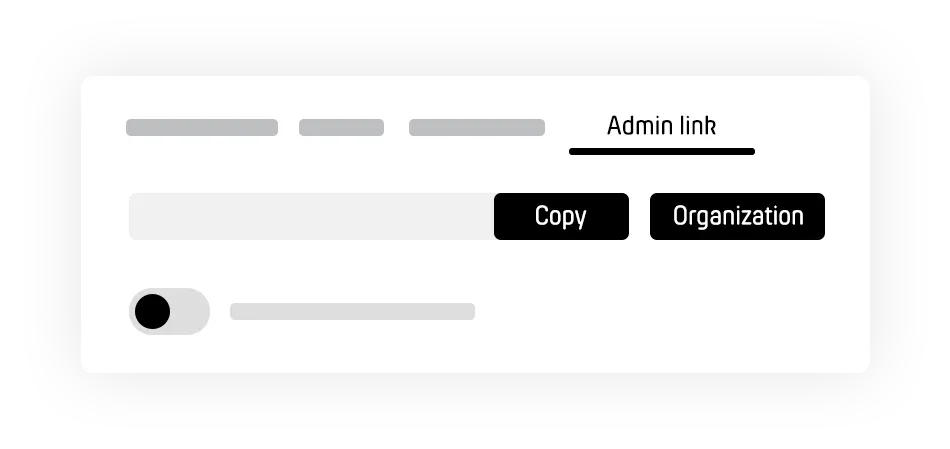
Admin link
The easiest way to share admin rights is to share the admin link. If the admin link is enabled, anyone who knows the link can manage your PollUnit. If it is deactivated, others will not get any rights even with admin link. You can only deactivate the admin link with a PollUnit account. The most secure way to share rights is to create an organization. All members can manage the polls of the organizations and also create new ones.
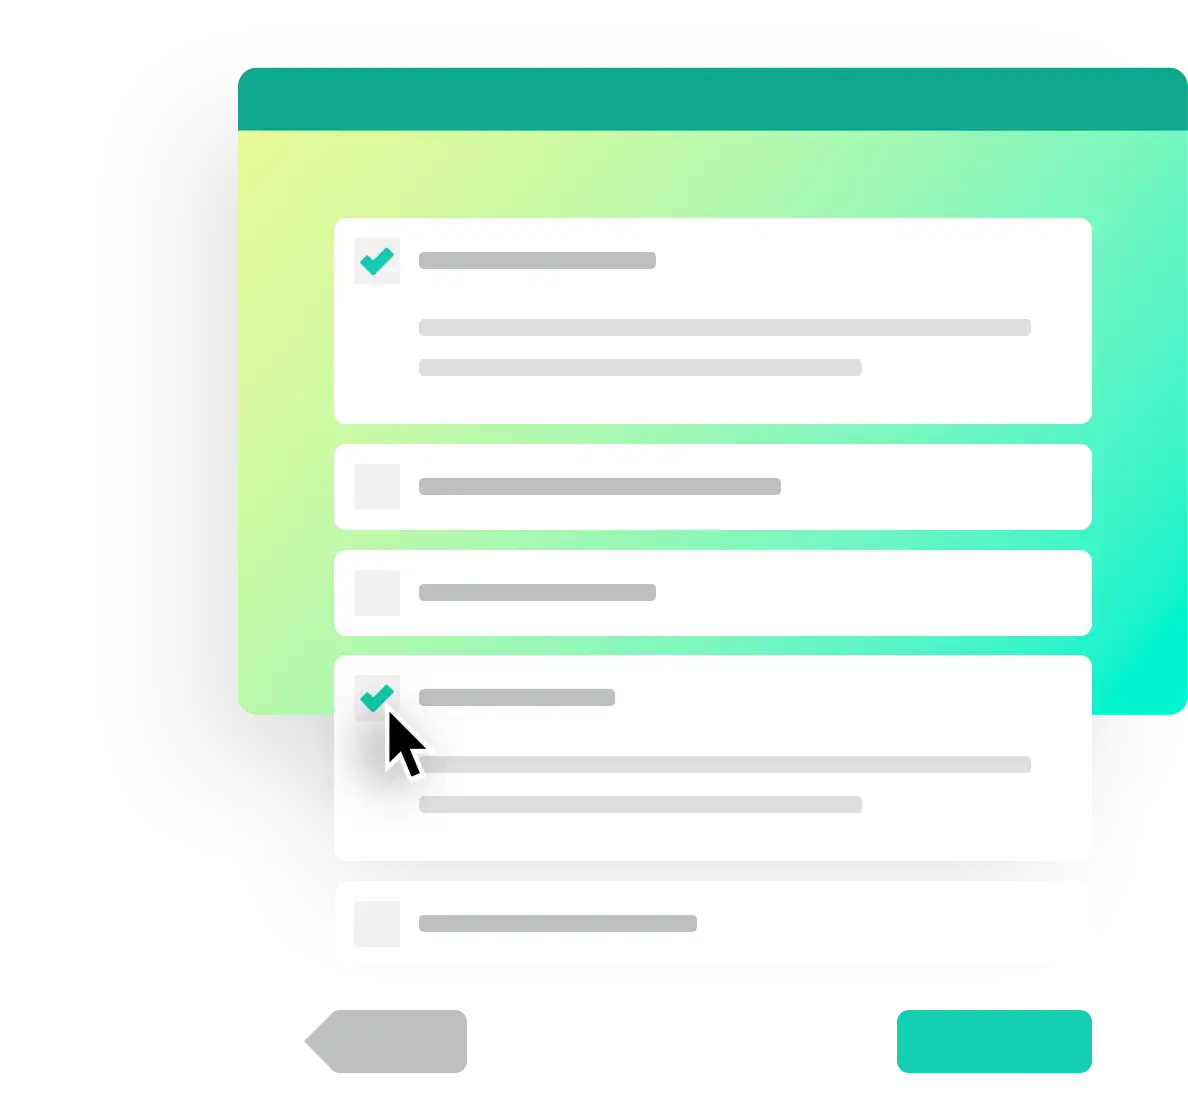
Vote
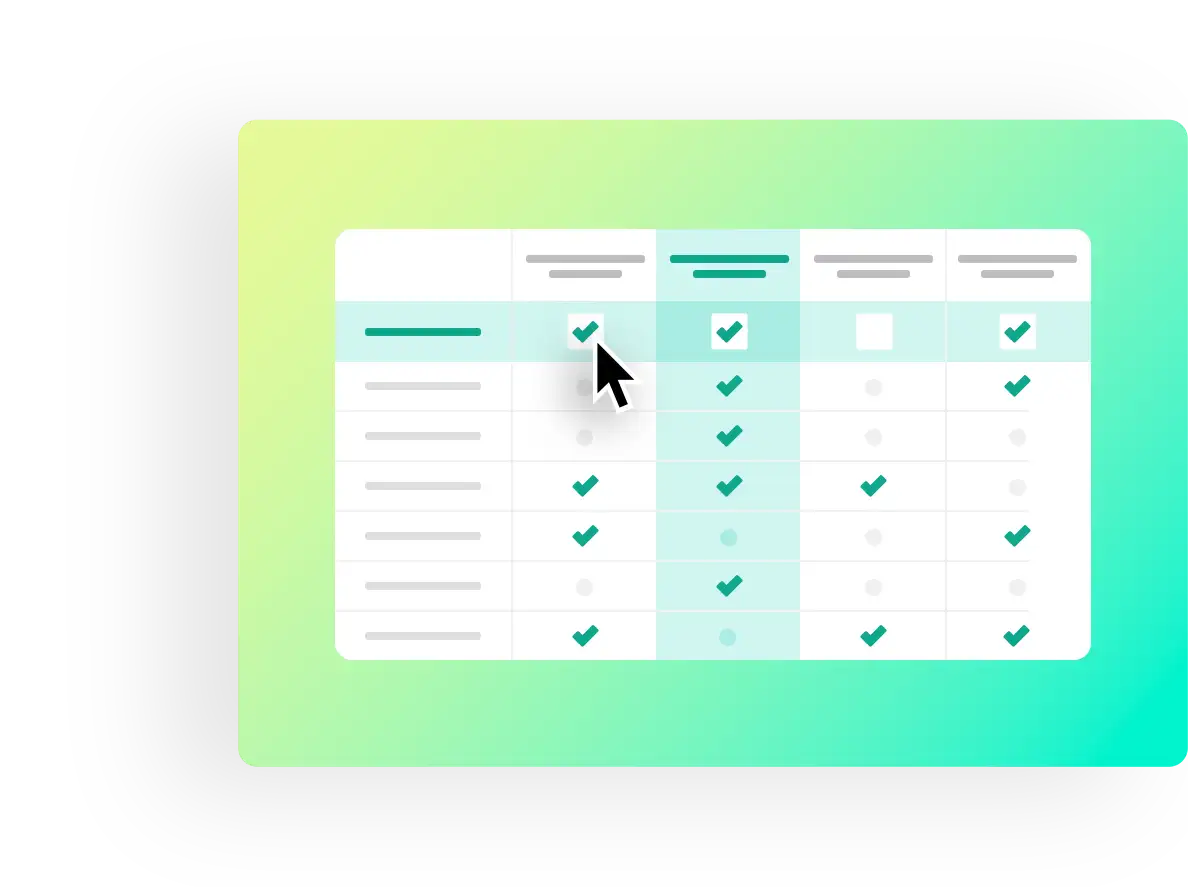
Of course, you can also vote in your PollUnit. Just click on the checkbox of the desired option in the table. If you have chosen star rating as vote type, give your rating by clicking on one of the stars. Participants without an account must first assign a name in the left column before they can vote.
Users with account can post comments and have the possibility to chat directly in your PollUnit.
In the context menu in the header of your poll you can edit, close, add new options or share your PollUnit.