Advanced survey branching logic
Create engaging surveys by adding branching rules based on the respondents answers to previous questions. Skip, hide or show question steps to keep your respondents interested. Creating conditional survey questions is also available in our free plans!

Why?
- User-friendly surveys
- Keep respondents interested
- Reduce survey drop out
- Higher completion rate
- Better results and a higher accuracy
- Receive relevant insights
How?
- Personalize questions
- Hide unnecessary and irrelevant questions
- Reduce survey completion time
- Save your respondent’s time
- Show only relevant questions
- Customize your survey for respondends
Create your survey steps
We recommend that before you create extending logics, you first create your survey with all its steps and questions. If you new to PollUnit follow »create online surveys« to learn more about general features.
To create a logic and apply it in a survey step, you need at least one previous step. A logic is always based on the answers of the participants. So in step two you can only create rules based on answers given in step one; in step three you can only create rules based on answers given in steps one to two and so on.
Create a branching logic
Visit the admin link by pressing the »Finish« button in the survey maker or open your survey via your PollUnit overview.

Survey admin view
The admin view enables you to navigate through all steps and see how your survey will look like while showing the results of each step in a separate »Evaluation« column. This »Evaluation« column is only visible to admins. When a step already has a logic it will be marked in the timeline.
Now go to the step you want to add your first survey branching logic and open the context menu (three dots) in the upper right corner of the »Preview« column and choose »Edit«.

Assign logic
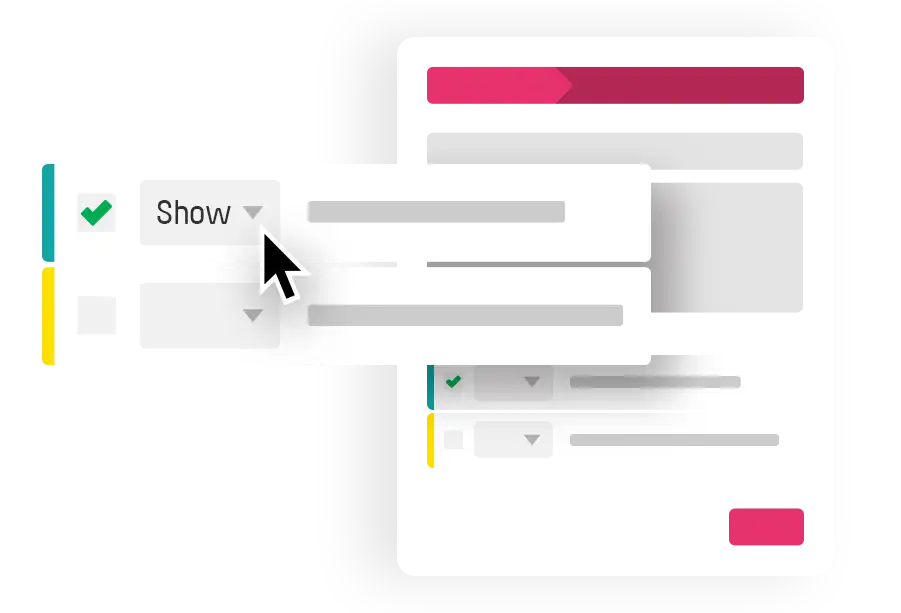
If you survey step has no logic yet you need to toggle the logic configuration via »Show branching logic«. If you already created conditions you could simply activate these and choose what should happen if the condition is fulfilled.
If this is your first logic, click »Add logic«. A modal will be shown and you can choose if you want to hide or show the current survey step or skip to the thank you page. After this a new modal is shown, here you can enter your conditions.

Create conditional group
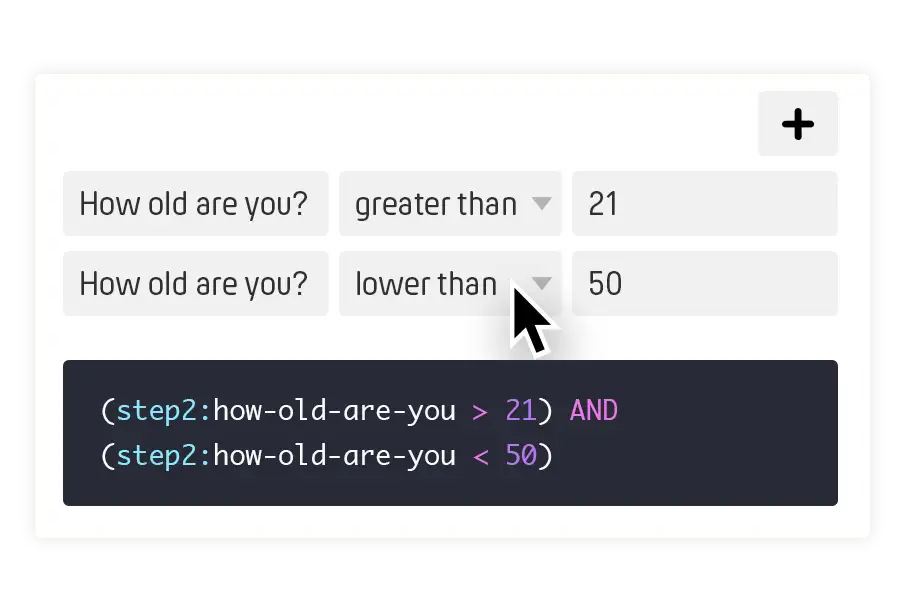
Now you create a set of conditions. Name it and give it a color for better recognition in the overview. This condition set can be reused in following steps. Each set consists of multiple conditioions and each condition consists of three fields.
The first field describes the question you asked. Only questions that were asked before the current step can be selected. The second field is the comparison operator. Here you can specify how the answers of the participants should be treated. The third and last field of a condition is the comparison value. You will get something like answer must be greater than comparison value or answer is equal to comparison value.
At the end you see an automatic generated code which PollUnit uses to handle your logic. We will explain more about this code later. For basic functionality, you can safely ignore it.
Depending on you answer type not all comparison operators are available. For example an age can be greater or lower than a number. A gender can not be compared with a number, but it could equal or not equal a value. Please see the list of our comparison operators in the following table.
| Comparison operator | Code | Field types |
|---|---|---|
| is greater than | > | Number |
| is smaller than | < | Number |
| is smaller or equal | <= | Number |
| is greater or equal | >= | Number |
| equals | == | Number, String, Boolean |
| is not | != | Number, String, Boolean |
You do not need to write code – but you can
All settings you made in your logic are translated into boolean algebra code. This code is used by our system to manage your logic.
Imagine you have added a number field in step 2 and ask the question »How old are you?«. The following example means: All participants with the age greater than 18.
(step2:how-old-are-you > 18)
You can combine multiple conditions and change the greatar than (>) definition to a greatar than or equal (>=) definition. This way you get all participants with the age 18 to 36 (including 18 and 36).
(step2:how-old-are-you >= 18) AND (step2:how-old-are-you <= 36)
The main benefit when understanding the boolean algebra is that you can do more than when using the interface. Currently the only way to change the operator from AND to OR is by changing the code. We do this to keep our interface as easy as possible. See the following example which means: All participants with the age from 18 to 36 or with the favorite hobby skating. Skating is a string (not a number) and could be a radio button, checkbox or option in a drop down select field you have created in step 3.
((step2:how-old-are-you >= 18) AND (step2:how-old-are-you <= 36))


OR (step3:favorite-hobby == 'skating')